If you’re trying to tame sound bleed or temperature swings between rooms, barn door weatherstripping can be a surprisingly effective upgrade—when it’s done the right way. I’ve helped a lot of people “fix” a barn door that looked great but leaked noise like an open doorway, or let warm air pour into a cold hallway all winter.
The trick is understanding what barn doors can realistically do, where they’ll always fall short, and which seals give you the biggest improvement without making the door annoying to use.
A sliding barn door is not a sealed system like a modern hinged door with a stop and compression gasket. Barn doors float off the wall, they don’t press into a jamb, and they usually have gaps along the sides and bottom. That means you’re never going to get true soundproofing from weatherstripping alone. But you can make a meaningful dent in everyday noise (TV, voices, office calls) and reduce drafts and temperature mixing between rooms.
This article walks through what to buy, where to place it, and what trade-offs you’re signing up for—so you don’t waste time on a “seal” that peels off in a week or drags like sandpaper every time you slide the door.
What Weatherstripping Can and Can’t Do on a Barn Door
Weatherstripping works best when it creates a consistent contact point. On barn doors, you’re typically creating a “soft barrier” at the edges rather than a tight compression seal. That’s still useful, especially for:
- Draft control between a warm bedroom and a cold hallway
- Odor control (kitchen, litter box room, laundry)
- Everyday sound dampening, not true sound isolation
What it usually won’t do, even with great materials:
- Fully block loud conversations
- Stop bassy sound (subwoofers, stomping, heavy TV)
- Match a properly sealed hinged door with perimeter gasketing
A helpful mindset is: weatherstripping turns a barn door from “open doorway vibes” into “more like a closed door,” but it rarely becomes “studio quiet.”
First: Identify Your Biggest Leak Points
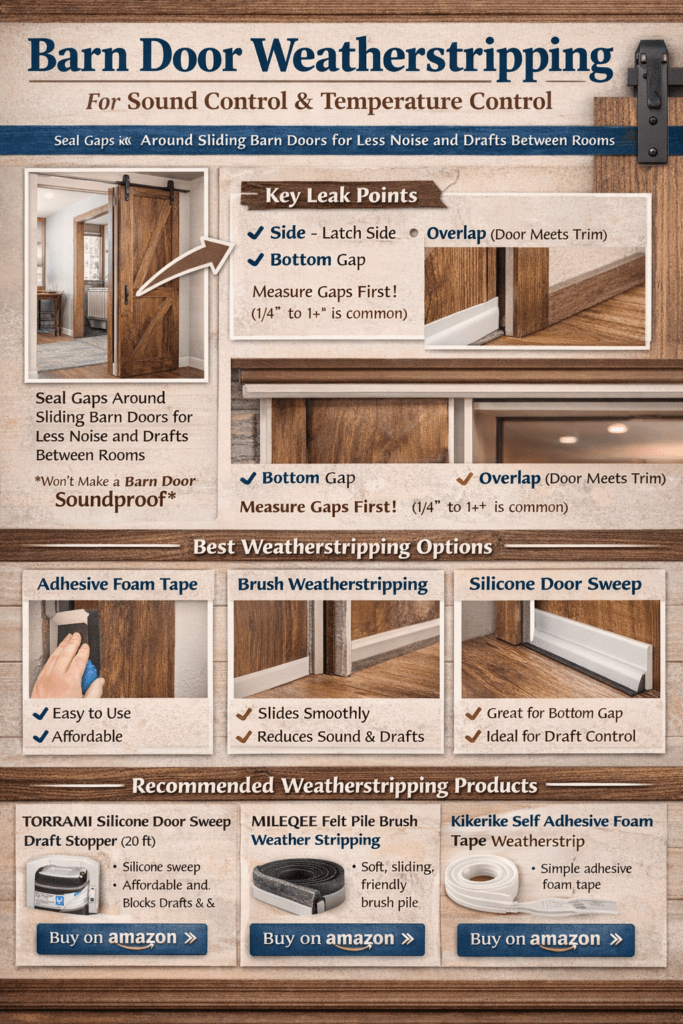
Before buying anything, check these three areas. They’re where most of the sound and air moves.
- The latch-side vertical gap (the side you grab)
- The bottom gap (often 1/2″ to 1″+)
- The overlap area where the door meets trim or wall
Also pay attention to door stability. If the door wobbles or the gap varies along the slide, weatherstripping will rub in some spots and miss in others. That’s a hardware or alignment issue first, weatherstrip issue second. If you need a refresher on hardware basics, your internal guide is worth linking here (see the link list at the end): Barn Door Hardware.
The Best Types of Weatherstripping for Barn Doors
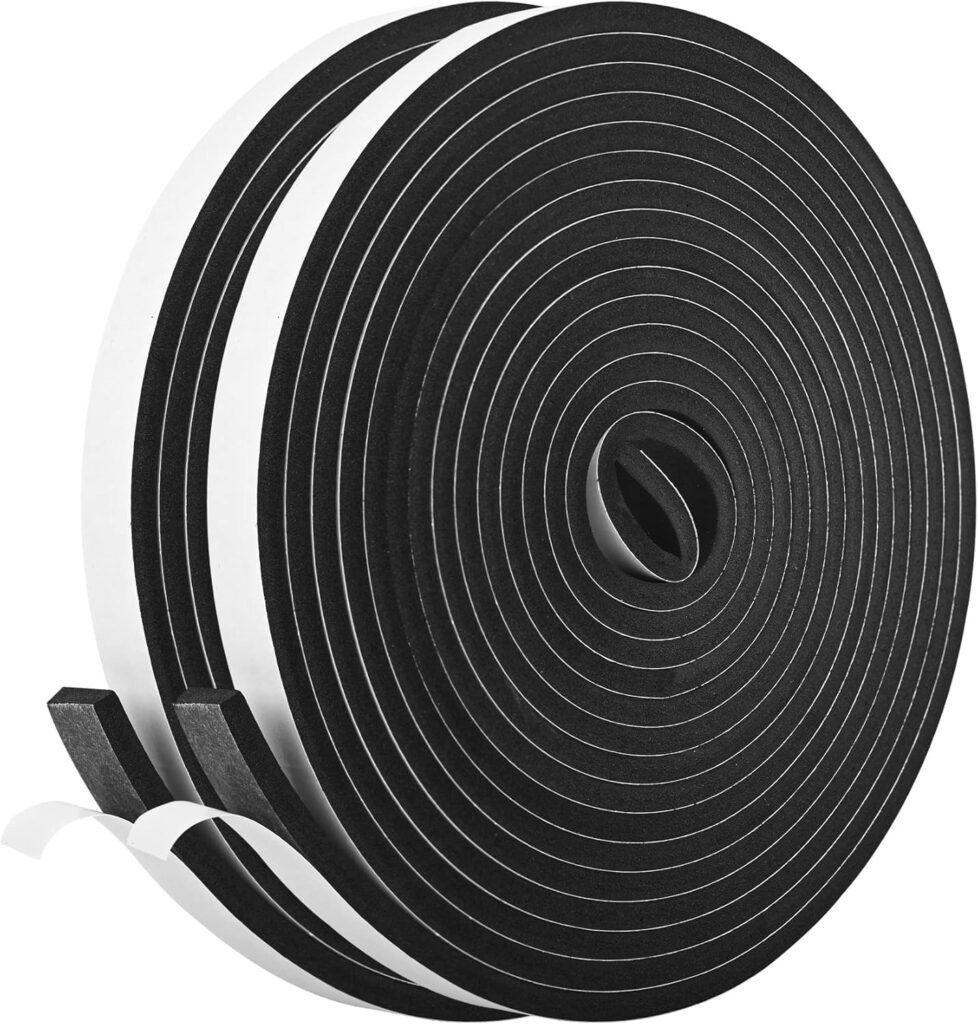
1) Adhesive Foam Tape (Quick Wins for Side Gaps)
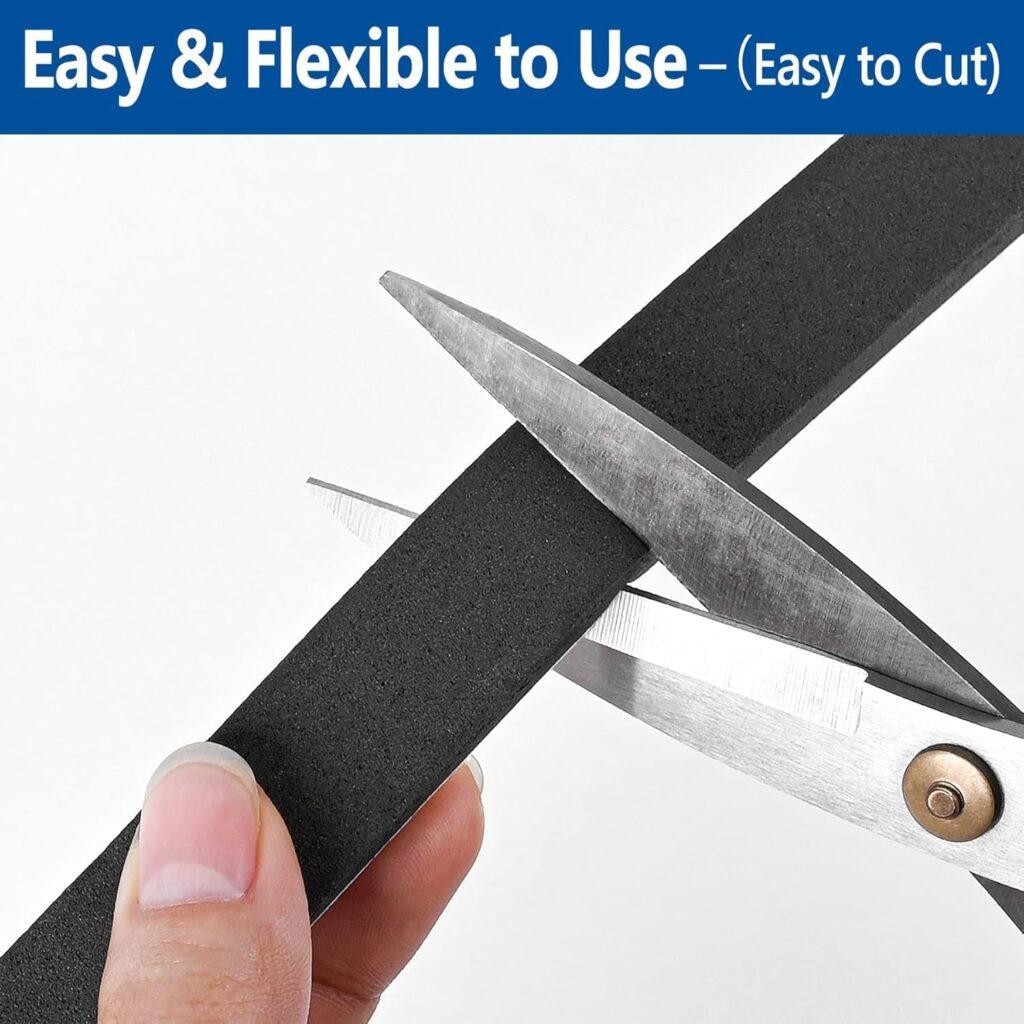
Foam tape is the easiest improvement for most homes, especially if your goal is temperature control or minor sound reduction. You apply it to the back edge of the door where it approaches the wall or trim, so it “kisses” the surface as the door closes.
Why it works: It disrupts airflow and reduces the sharp edge gap that carries sound.
Where it struggles: It can peel in humid areas or dusty surfaces, and cheap foam compresses and stays flattened.
Best use case: Bedrooms, offices, hallways—moderate use doors.
2) Brush/Pile Weatherstripping (Best for Sliding Friction)
If you want something that seals but still slides smoothly, brush-style (pile) weatherstripping is the sweet spot. It’s the same concept used on many sliding windows and patio doors.
Why it works: It fills gaps without the “sticky drag” that foam can create.
Trade-off: It’s better for airflow and dust than it is for serious sound control, but it often feels nicer day-to-day.
Best use case: High-traffic doors where you don’t want rubbing resistance.
3) Silicone Rubber Seal Strips / Door Sweep Styles (Bottom Gaps)
Bottom gaps are huge for drafts and sound leaks. A silicone sweep-style strip can reduce airflow a lot, especially if your HVAC pressure differences are pulling air under the door.
Why it works: It blocks the biggest “tunnel” under the door.
Trade-off: It can look less “invisible,” and depending on your floor type, it can rub or collect dust.
Best use case: Temperature control between rooms, especially near exterior walls.
Decision Guidance: Pick Your Goal, Then Your Material
If your main goal is temperature control
Start with the biggest air pathways first:
- Bottom gap seal (silicone sweep style)
- Foam tape on the latch-side vertical edge
- Brush seal if foam causes drag
This aligns with mainstream energy guidance on sealing openings.
If your main goal is sound control
You want to reduce air movement and soften hard edges that reflect sound:
- Use foam tape in key contact zones
- Add brush/pile for wider gaps that vary along the slide
- Consider a “soft close” upgrade to reduce slams (not weatherstripping, but it helps quality-of-life)
And here’s the reality check: sealing helps voices and midrange noise more than low-frequency sound. If you need “office-call privacy,” weatherstripping helps. If you need “drum kit silence,” you’ll need more than this.
Installation Tips That Prevent the Usual Headaches
- Clean the surface like you mean it.
Wipe with isopropyl alcohol and let it dry. Adhesives fail mostly because of dust and oils. - Don’t over-thicken the seal.
If the strip is too thick, the door will feel heavy and may bounce off the wall. Energy guidance specifically notes choosing thickness that seals without making closure difficult. - Test in short sections first.
Apply 12–18 inches, slide the door, then continue. This prevents the “I sealed it perfectly and now it won’t slide” problem. - Expect maintenance.
Adhesive seals are consumables. High-traffic doors may need replacement or re-pressing every so often.
Also, if your door is prone to warping or seasonal movement, weatherstripping can expose the problem by creating inconsistent contact. If you’ve ever dealt with a door that shifts with humidity, that internal article on warp causes is a strong companion link (see link list).
Recommended Amazon Weatherstripping Products for Barn Doors
These three options match common barn door use cases: side gaps, sliding-friendly sealing, and bottom gap control.
- TORRAMI Silicone Door Sweep Draft Stopper (20 ft, 2-inch width) – great for bottom gaps and drafts.
- MILEQEE Felt Pile Brush Weather Stripping (self-adhesive) – sliding-friendly seal for side gaps and variable clearances.
- Kikerike Self-Adhesive Foam Tape Weatherstrip – easy side-edge sealing for temperature and basic sound reduction.
(Exact sizing matters. Measure your gaps before ordering.)
Frequently Asked Questions
Will weatherstripping make my barn door “soundproof”?
No. It can noticeably reduce voice and TV noise, but it won’t eliminate it. Barn doors lack a compression seal and usually still have structural gaps.
What’s the best weatherstripping for a door that gets used constantly?
Brush/pile weatherstripping tends to slide smoother than foam, so it feels better on high-traffic doors.
My weatherstripping drags and makes the door hard to move—what now?
The strip is likely too thick, placed where the door rubs too firmly, or the door alignment varies. Reduce thickness, reposition, or switch to brush/pile.
Should I weatherstrip the top near the track?
Usually no. Most air and sound leaks are sides and bottom. Top sealing can interfere with hardware and is rarely the biggest win.
Is there a “best” setup for both sound and temperature?
A common combo is: silicone sweep at the bottom + foam at the latch-side edge + brush seal where gaps vary. It’s layered, but still slides well.
Conclusion: The Smart Way to Seal a Barn Door
Barn door weatherstripping is worth doing if you go in with realistic expectations. You’re not building a recording studio door, but you are turning a drafty, noisy sliding panel into something that feels more finished and more private. Start with the biggest leaks, choose a material that won’t make the door miserable to use, and accept that a little seasonal adjustment is normal. When you approach it as an upgrade—not a miracle—you’ll be happy with the results.