
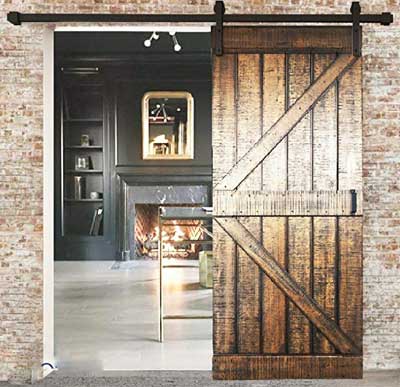
If you want a big style upgrade without major remodeling, a sliding barn door is hard to beat. The install looks “custom”, but the process is very doable for a homeowner. Most of the job is careful measuring, solid anchoring, and keeping the track perfectly level.
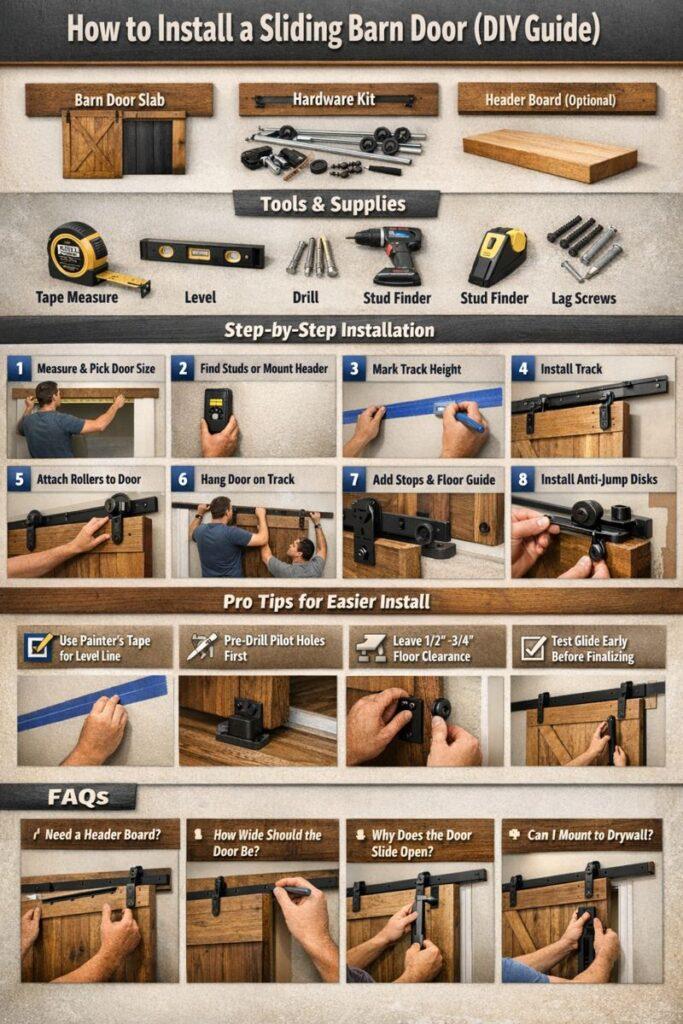
Below is the exact approach I use to get a smooth glide, tight alignment, and fewer “why is it rubbing?” headaches.
Quick Reality Check Before You Buy
- Wall space: You need open wall space beside the opening so the door can slide fully open.
- Door size: Choose a door that’s wider than the opening, so it overlaps the trim.
- Structure: Your track must anchor into studs or solid blocking. Drywall alone is not enough.
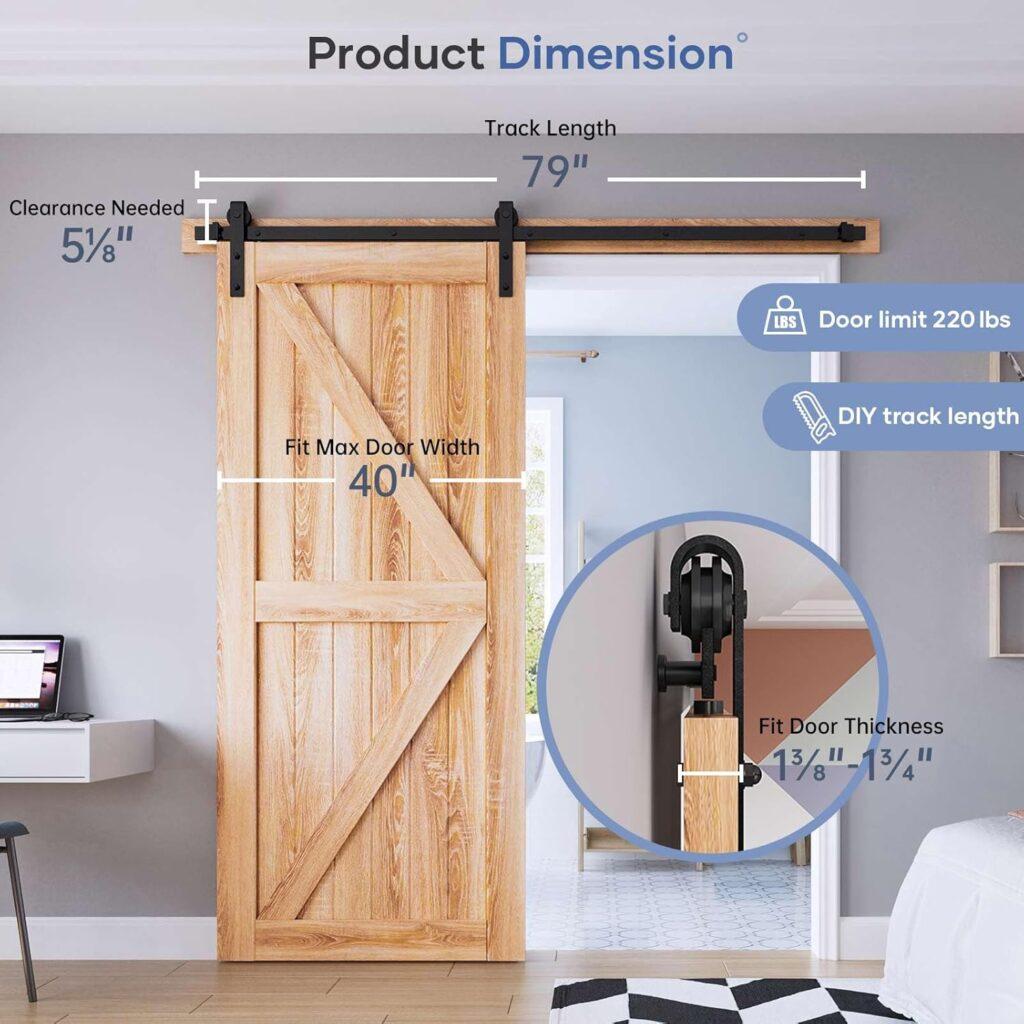
- Dimensions: Get your measurements right – plug them into the Barn Door Size Chart.
Time Required
- Typical DIY time: 2–4 hours for a standard door and hardware kit.
- Add 30–60 minutes if you install a header board to hit studs cleanly.
- Add 30 minutes if you’re swapping handles or adding privacy seals.
Tools And Supplies
Tools
- Tape measure (a laser measure helps)
- Level (24″ is fine; longer is better)
- Stud finder
- Drill/driver + bits
- Socket wrench or adjustable wrench
- Pencil, painter’s tape, and a step ladder
Supplies
- Barn door slab
- Sliding hardware kit (track, rollers, stops, floor guide, anti-jump disks)
- Lag screws (usually included with the kit)
- Header board (optional, but often smart)
- Handles/pulls (often sold separately)
3 Standard Barn Door Options (Amazon)
1. SmartStandard DIY Barn Door Slab (36″ x 84″ K-Frame Style) – Good value. Unfinished wood is easy to stain or paint.
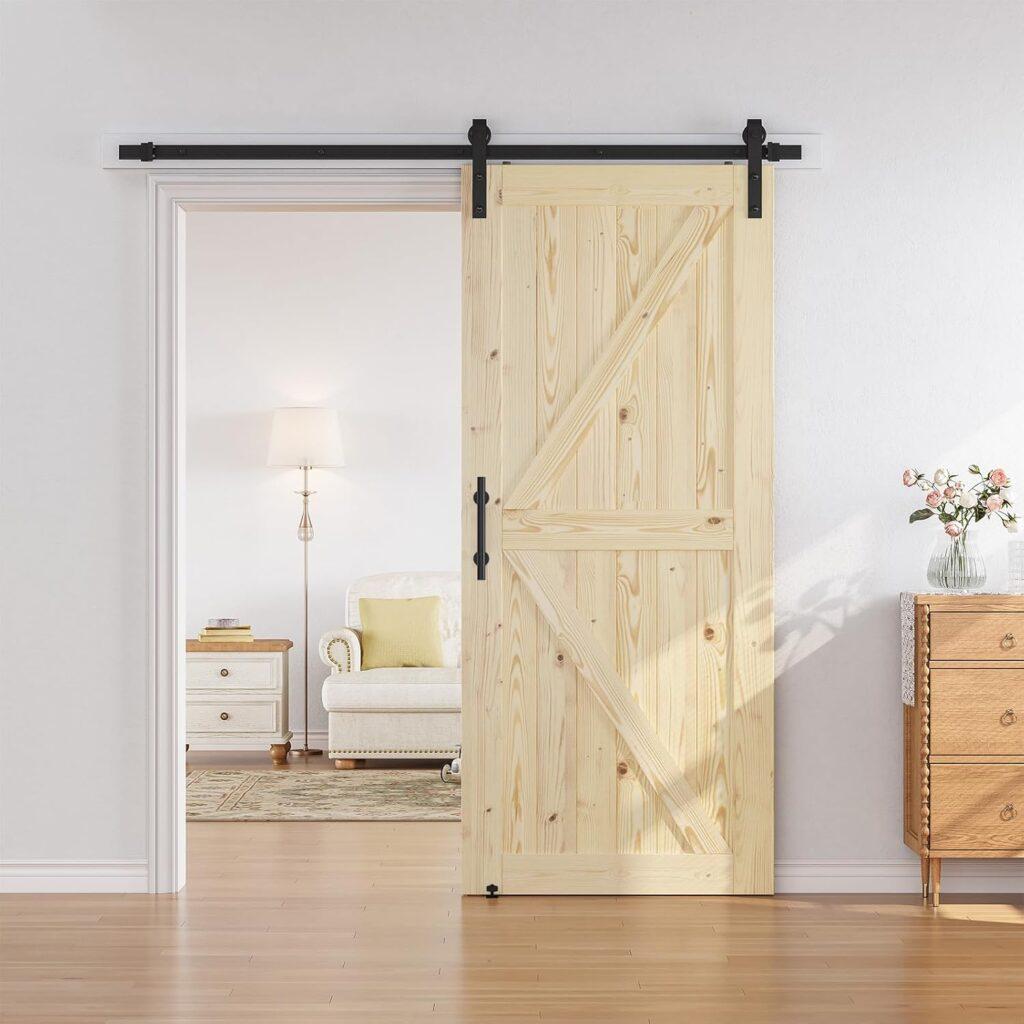
2. EaseLife Unfinished Barn Door Slab (Common Sizes Available) – Simple, classic look, Great if you want to customize the finish.
3. Knotty Pine Barn Door Slab (Solid Wood Look) – Rustic character. Nice visual texture out of the box.
Hanging Hardware (Amazon)
EaseLife Sliding Barn Door Hardware Kit (6.6ft Track) – A common length for a 36″ door. Includes the key hardware parts.
Step-By-Step: How To Install A Sliding Barn Door
1) Measure The Opening And Pick The Door Size
Measure the opening width and height. Your door should overlap the opening on both sides. A common rule is 1–2 inches of overlap per side. More overlap usually means better privacy. Have an extra-wide door opening? Click here.
2) Find Studs And Decide On A Header Board
Use a stud finder and mark stud centers above the opening. If your kit holes do not line up with studs, install a header board. The header board is a simple wood plank that spreads the load across studs. It also helps when you have thick trim.
3) Mark The Track Height
Most kits specify the exact height. Follow the manual. In general, the track sits above the opening so the door clears the trim. Use painter’s tape to mark a clean line. That makes it easier to see your level line.
4) Install The Track Brackets (Or Mount The Header First)
If you use a header board, mount it into studs with long screws or lag bolts. Then mount the track hardware into the header. If you skip the header, mount the track directly into studs. Do not guess here. Solid anchoring matters.
5) Hang The Track And Confirm It’s Level
Before you fully tighten everything, check level again. A tiny tilt can make the door drift open or slam shut. Tighten hardware only after you confirm the track is dead level.
6) Attach Rollers To The Door Slab
Install the roller straps or hangers to the top of the door. Use the kit’s measurements. Keep roller spacing symmetrical. Tighten bolts firmly. Re-check that both rollers sit at the same height.
7) Lift The Door Onto The Track
This is a two-person step for most doors. Lift slowly. Seat rollers onto the track. Slide the door back and forth. You want smooth travel with no grinding.
8) Add Door Stops And Anti-Jump Disks
Door stops prevent the slab from rolling off the track ends. Anti-jump disks keep the door from lifting. Install both. This is important for safety and long-term reliability.
9) Install The Floor Guide
The floor guide keeps the bottom of the door from swinging. Place it so it lightly captures the door’s bottom groove or edge. You want control without friction.
10) Add Handles, Then Test The Full Slide
Install your pulls. Then open and close the door several times. Listen for rubbing. Watch for drift. Make small adjustments now. Tiny tweaks are normal.
Pro Tips For A Faster, Cleaner Install
- Use painter’s tape for your level line. Pencil marks can get messy.
- Pre-drill pilot holes to reduce splitting and speed up lag screws.
- Install a header board when trim is thick or studs don’t align well.
- Leave 1/2″–3/4″ floor clearance unless your kit says otherwise.
- Test glide early before you install stops and guides. Fix issues sooner.
Frequently Asked Questions
Do I need a header board?
Not always. But it makes mounting easier and stronger. It’s also great with thick trim.
How wide should my barn door be?
Wider than the opening. Extra overlap improves privacy and reduces side gaps.
Can I install a barn door on drywall?
No. You must anchor into studs or solid blocking. Drywall will fail over time.
Why does my door roll open by itself?
Your track is slightly out of level. Re-level the track and retighten hardware.
Can I use a barn door for a bathroom?
Yes, but expect some sound and light gaps. Add overlap, a sweep, or seals if needed.
Conclusion
A barn door install is mostly precision work. Measure carefully. Anchor into solid framing. Keep the track perfectly level. Do those three things and the rest feels straightforward.
Once it’s hung, you get a smooth, space-saving door that looks like a custom upgrade. And you did it yourself.