Love the rich patina of reclaimed barnwood, but don’t love the price tag—or the idea of building a door from scratch? You can still get that weathered, vintage vibe without turning it into a month-long project. Below are practical ways to pull off the reclaimed look with less money, less time, and a whole lot less hassle.
Advantages of Vintage-Style Sliding Barn Doors
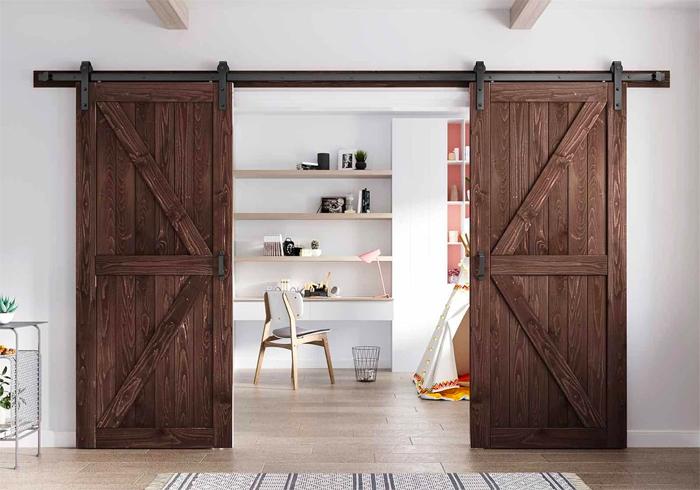
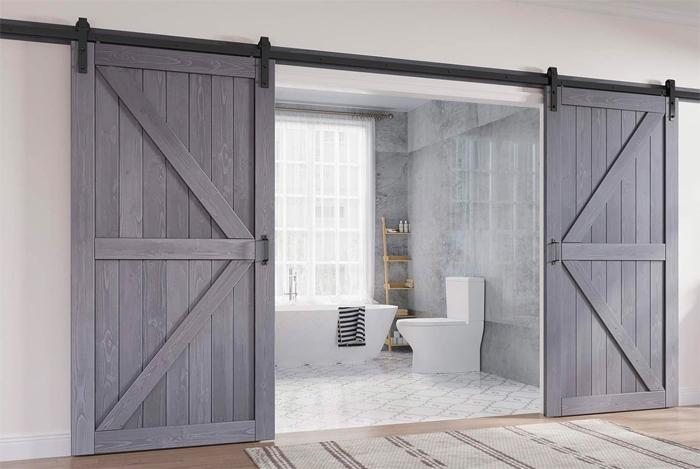
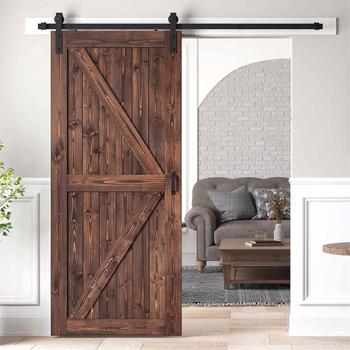
Rustic sliding doors aren’t just about looks (although they absolutely bring the charm). They’re also one of the easiest ways to upgrade a room without changing the layout. Here’s why reclaimed-style sliders are so popular:
- They’re easy to customize—pick your door size and style, then choose a stain, paint, or finish that matches your space.
- They save space. Because the panels ride on a wall- or ceiling-mounted track, you don’t lose floor area to a swing arc.
- True reclaimed wood is tough. Aged boards are dense, stable, and hold up well to daily use—without losing their character.
- Reclaimed-look sliders work in almost any home style—farmhouse, industrial, cottage, modern, or even clean contemporary spaces that need warmth.
How to Pick the Right Rustic Barn Door Slider
If you’re shopping for a reclaimed or reclaimed-look door, you’ll get better results by planning the details up front. Here are the big decisions that matter most:
- Measure carefully: Record the opening width and height, plus how much overlap you want. Even small errors can create gaps. A laser measurer is a nice upgrade if you have one.
- Decide how “authentic” you want to go: Real reclaimed boards have deeper texture and variation, but take more sourcing time. DIY distressing takes less time and still looks convincing once installed.
- Keep costs in check: DIY installation is where you’ll save the most money. If you want a walkthrough style tutorial, YouTube channels like “DIY Creators” can be helpful for seeing the full process start to finish.
- Choose solid hardware: Your door can look amazing, but cheap rollers and shaky track systems will ruin the daily experience. Read reviews and consider soft-close upgrades if noise is a concern.
- Seal the surface: Reclaimed wood needs protection. A clear polyurethane, wax finish, or wood sealer helps lock in the look and makes cleaning easier.
- Plan for tight spaces: Sliding doors often save a surprising amount of usable space—especially in small halls where a swing door feels like it’s always in the way.
- Match your home’s style: Sites like Wayfair can be useful for browsing profiles and finishes so you can match existing trim, flooring, and hardware tones.
- Follow the kit instructions: Most kits include all required fasteners and a step-by-step order that prevents common mistakes. Don’t skip ahead—alignment matters.
With the right plan, a reclaimed-style slider becomes one of those “big impact, reasonable effort” upgrades—especially when you use a kit and focus your energy on the finish.
How Much Do Reclaimed Barnwood Doors Cost?
Pricing is all over the place, which is why it helps to decide whether you’re buying true reclaimed wood or creating the look. As a general range, most sliding barn door setups land around $300–$1,500. Oversized doors or custom reclaimed builds can push past $2,000 depending on the wood type, thickness, and detailing.
PRO TIP: If you’re comfortable doing a little DIY, salvage yards can be budget gold. Pair reclaimed boards with DIY door kits and you can cut labor and total cost dramatically.
Customization is where costs climb. Non-standard sizes, thicker slabs, and premium millwork can add 20–50% quickly. Big-box retailers like Home Depot (and similar stores) are useful for comparing current prices and available sizes.
If you’d rather learn by watching, DIY walkthroughs from creators and sites like Ana White and Bob Vila make the process feel much more doable.
One more budget note: hardware matters. Premium systems (like Johnson Hardware or Quiet Glide) often cost more, but they can run smoother and quieter long-term. Just remember to include hardware in your total, not only the door panel.
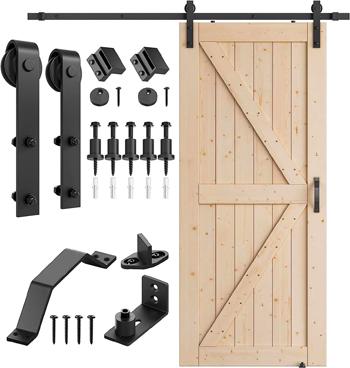
How to Install Sliding Barn Doors (Basic Steps)
Installing barn doors is one of those projects that looks complicated until you do it once. Most installs are basically a careful measuring job plus solid mounting. Here’s the simple overview:
- Gather your tools: tape measure, level, drill/driver, pencil, and (optional) a stud finder.
- Confirm the door size and overlap so the opening is covered properly.
- Mark your mounting points and double-check level before drilling.
- Install the brackets and mount the rail securely.
- Install the track above the opening and verify it’s level again before tightening.
- Attach rollers to the door and lift the slab onto the rail.
- Adjust stops and alignment so the door glides smoothly end-to-end.
- Install the floor guide to stop sway and keep tracking straight.
- Add handles or pulls, then test the full slide range.
Where to Find Quality Reclaimed Wood
If you want the real thing, start with architectural salvage yards and reclaimed lumber suppliers. Etsy can be another good source for smaller batches. You can also find affordable reclaimed boards through classifieds, or by contacting demolition contractors (many sell usable wood before disposal).
DIY TIP: Want the look without hunting down old boards? Start with a standard unfinished barn door kit and distress it yourself—tap with a chain, add a few light gouges, then stain. A vinegar + steel wool mix can help “age” raw wood quickly.
For step-by-step distressing ideas, sites like Remodelaholic and DIY Network break down techniques you can copy without needing fancy tools.
For an extra-authentic finish, layer your look: a base coat (like milk paint), a light wash stain, then scuff the edges and “touch points” where real doors naturally wear.
PRO TIP: Lock in the color and texture with a protective top layer like a clear coat or paste wax.
Once the door is on the wall, most people won’t know (or care) whether you used true barnwood or a smart distressed finish. They’ll just see a gorgeous focal point.
Post-Installation Care (Keep the Look Longer)
A little basic care keeps reclaimed-style doors looking good for years:
- Dust regularly and wipe with a soft cloth (avoid harsh cleaners).
- Keep moisture exposure low to prevent swelling or warping.
- Refresh wax or clear coat if the finish starts to dull.
- For smoother sliding, a light mist of silicone spray on the track/rollers can help.
- Check mounting bolts once in a while and tighten if you notice movement.
Frequently Asked Questions
Is real reclaimed barnwood worth it?
If you want deep texture, natural variation, and true vintage character, yes. If you mainly want the look, a distressed kit can get you 90% of the vibe for far less money.
Do reclaimed-style barn doors work in modern homes?
Absolutely. Weathered wood can soften modern spaces and adds contrast against clean trim, smooth walls, and minimalist decor.
Should I seal reclaimed wood?
Yes. Sealing helps prevent splinters, protects the color, and makes the surface easier to clean—especially in high-touch areas.
Can I install a barn door myself?
Most DIYers can, as long as you take your time measuring and mount the track securely into framing (or use the correct anchors/backer board).
Reputable Resources for More Information
- Bob Vila – Door and home improvement how-tos
- Ana White – DIY woodworking plans and tutorials
- Remodelaholic – DIY finish and distressing guides
Conclusion
Rustic reclaimed-style sliding doors give you a big visual upgrade without changing your floor plan. Measure carefully, choose hardware you trust, and protect the finish so the look lasts. Whether you source authentic barnwood or create the patina using a kit and simple distressing techniques, you can get that warm, vintage character—without paying premium prices.