
Trying to cut down the noise slipping past your sliding barn door? The good news: you can make a noticeable difference with a few low-cost upgrades that take minutes—not a full weekend project.
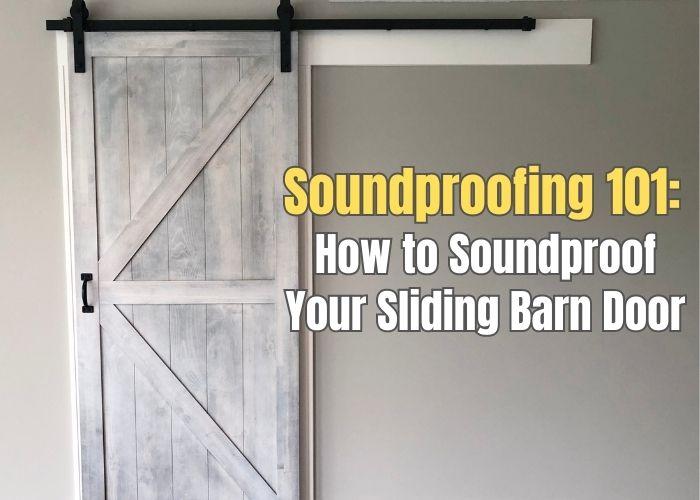
Barn doors are stylish and practical, but they’re not naturally sound-tight. Because the door has to slide, you’ll always have small gaps around the slab—especially at the bottom and along the sides—where sound and air can travel.
The goal isn’t to make the door “studio-proof.” It’s to reduce airflow and vibration so conversations, TV noise, and everyday sounds don’t carry as easily between rooms.
Note: You can’t fully “seal” a slider the way you can a hinged door. But if you close the biggest leak points, you’ll get a real boost in privacy.
4 Ways to Soundproof a Barn Door
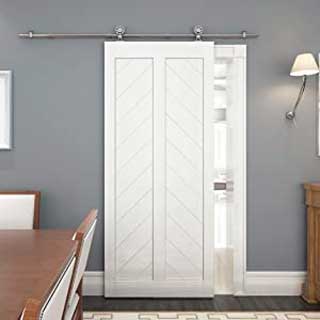
1. Upgrade to a Thicker, Heavier Door Slab
When it comes to blocking sound, weight helps—a lot. A dense slab absorbs vibration and reduces sound transfer far better than a thin or hollow-core door. If you’re shopping for a replacement, look at solid-core doors or solid wood options.
Not replacing the door? You can still add mass. Attaching a second layer (like plywood or a hardwood panel) to the room-facing side can stiffen the door and dampen vibration. It won’t be invisible, but it can be an effective “sound upgrade” when a full swap isn’t in the budget.
This is one of the only soundproofing steps that tackles the door itself, not just the gaps around it.
2. Choose a Wider Door for Better Overlap
More overlap means fewer exposed edges—so less sound can slip around the sides. For example, on a 28" opening, a 36" slab usually seals better than a 32" slab. And if you’re working with a wide opening, a 48" barn door will typically block sound better than a narrower panel (assuming you have the wall space).
Before sizing up, measure your “wall run” carefully. Wider doors need more slide space, and you don’t want the slab bumping into a light switch, thermostat, or trim detail.
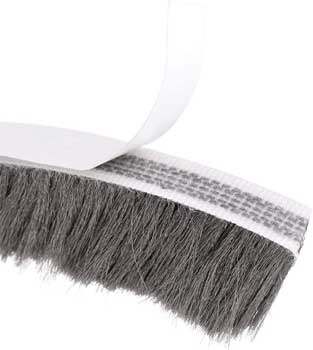
3. Add a Door Sweep to Seal the Bottom Gap
The floor gap is usually the biggest “sound leak.” A brush or vinyl door sweep reduces airflow at the bottom edge, which helps with noise, drafts, and even dust.
Many sweeps install with screws, and others use peel-and-stick backing. Position the sweep so the bristles (or vinyl) just touch the floor or guide channel—enough to seal, not so much that it drags and slows the slide.
If you only make one change, do this. It’s one of the best “quietness per dollar” upgrades.
4. Seal the Side Gaps with Weatherstripping
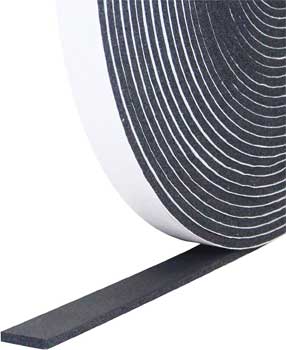
Once the bottom is handled, go after the side gaps. A thin strip of self-adhesive foam weatherstripping is quick and forgiving. If you want a tighter, longer-lasting seal, a vinyl bulb seal compresses nicely and holds up well over time.
Apply the strip where the slab overlaps the wall or trim, so it compresses when the door is fully closed. That’s when you want the seal to do the most work.
These seals reduce airflow—and when you reduce airflow, you reduce sound transmission.
Tips to Avoid Mistakes When Soundproofing
1. Work With Casing or Moulding (Not Against It)
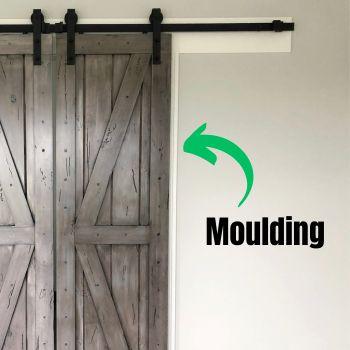
If your doorway has chunky casing, weatherstripping stuck directly on the wall can catch and peel as the door slides. A cleaner trick is to apply the seal on the casing where the door closes, so the slab compresses against it. The strip stays hidden and the door still moves smoothly.
Another great option here is brush-style weatherstripping. Bristles glide over trim profiles without snagging, which keeps the slide quiet and prevents sticky spots.
2. Don’t Forget the Top Gap
Most people focus on the bottom, but the top gap can leak sound too. Adding a brush strip above the slab—mounted to the wall or a header/backer board—can soften that sound path without interfering with movement.
Here’s a simple way to install a bottom brush sweep cleanly:
- Prep: Clean the door edge so adhesive sticks (or screws seat cleanly).
- Measure & cut: Trim the sweep to match the slab width.
- Attach: Position so bristles barely touch the floor/guide.
- Test: Slide the door end-to-end and adjust if you feel drag.
Pros of brush seals: fast DIY install, flexible around trim, solid improvement in drafts and sound leakage.
Cons: it’s still a sliding door (not airtight), and bristles can wear over time depending on friction and cleaning habits.
Bottom line: many barn doors can be noticeably quieter in under 25 minutes, often for about $20–$30 in materials.
Frequently Asked Questions
Can you fully soundproof a sliding barn door?
Not completely. Because the door has to slide, there will always be some clearance. But sealing the bottom and side gaps can noticeably reduce sound transfer.
What upgrade makes the biggest difference fastest?
A door sweep on the bottom edge is usually the quickest, most noticeable improvement.
Will weatherstripping make the door hard to slide?
If it’s too thick, yes. Use a thin foam strip or a bulb seal that compresses easily, and place it where the door only compresses it when fully closed.
Does a wider door really help with noise?
It can. More overlap reduces the exposed side gaps, which reduces airflow and sound leakage—assuming you have enough wall space for the door to slide open fully.
Reputable Resources for More Information
- This Old House – DIY door and sealing basics
- Family Handyman – weatherstripping and draft control tutorials
- Bob Vila – home improvement guides and door project tips
Conclusion
You don’t need to replace your whole setup to quiet a barn door. Add mass when you can, increase overlap when possible, and seal the main leak points with a sweep and weatherstripping. Small changes—done carefully around casing and trim—can make the door feel far more private while keeping the smooth slide you bought it for.